How to Build a DTF Gang Sheet That Wastes No Film
A gang sheet is only cheap when it is full. Here is how to build one that packs tight, prints sharp, and wastes zero film.
A gang sheet is the cheapest way to buy DTF transfers, but only if you build it right. The whole point is to fill a fixed width of film with as many designs as possible, so every square inch you pay for actually carries art. Leave gaps and you are paying for blank film. This guide walks through building a sheet that packs tight, prints sharp, and comes out at a price that makes small runs worth it.
Start with print-ready art
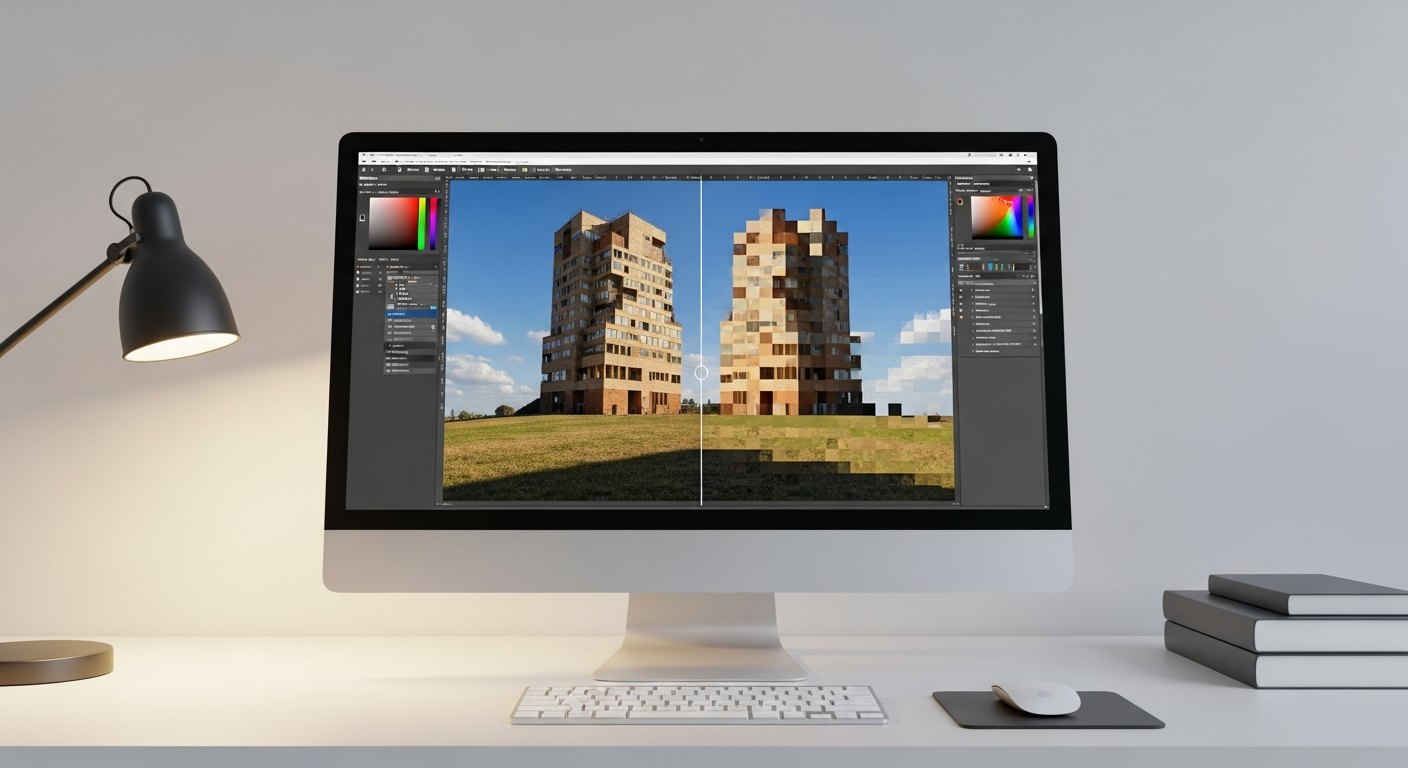
Before you think about layout, get your files right. DTF prints exactly what you upload, so a soft or pixelated file becomes a soft, pixelated transfer. Two things matter most: resolution and background.
- Use PNG files with a transparent background. DTF prints on clear film, so any white box behind your art will print as a white box on the shirt.
- Aim for 300 DPI at the size you plan to press. A logo that looks crisp on screen can still be too low-res once it is blown up to 11 inches wide.
- Set the art to the real-world size you want. If a chest logo should press at 10 inches wide, size the file to 10 inches, not whatever the camera or export happened to save.
Set your sizes and quantities
Now decide how big each design presses and how many of each you need. This is where a gang sheet beats individual transfers: you are not locked into one design or one quantity. You can put 40 of a shop logo, 6 name-and-number backs, and 3 one-off custom pieces on the same sheet, and you pay one film price for all of it.
Think in real inches. A standard adult chest print runs roughly 10 to 12 inches wide, a left-chest logo around 3 to 4 inches, and a full back up to about 12 inches wide on the 22-inch film. Sizing each design to its true press dimension keeps the layout honest and stops you from ordering film you will not use.
Let auto-nesting pack the sheet
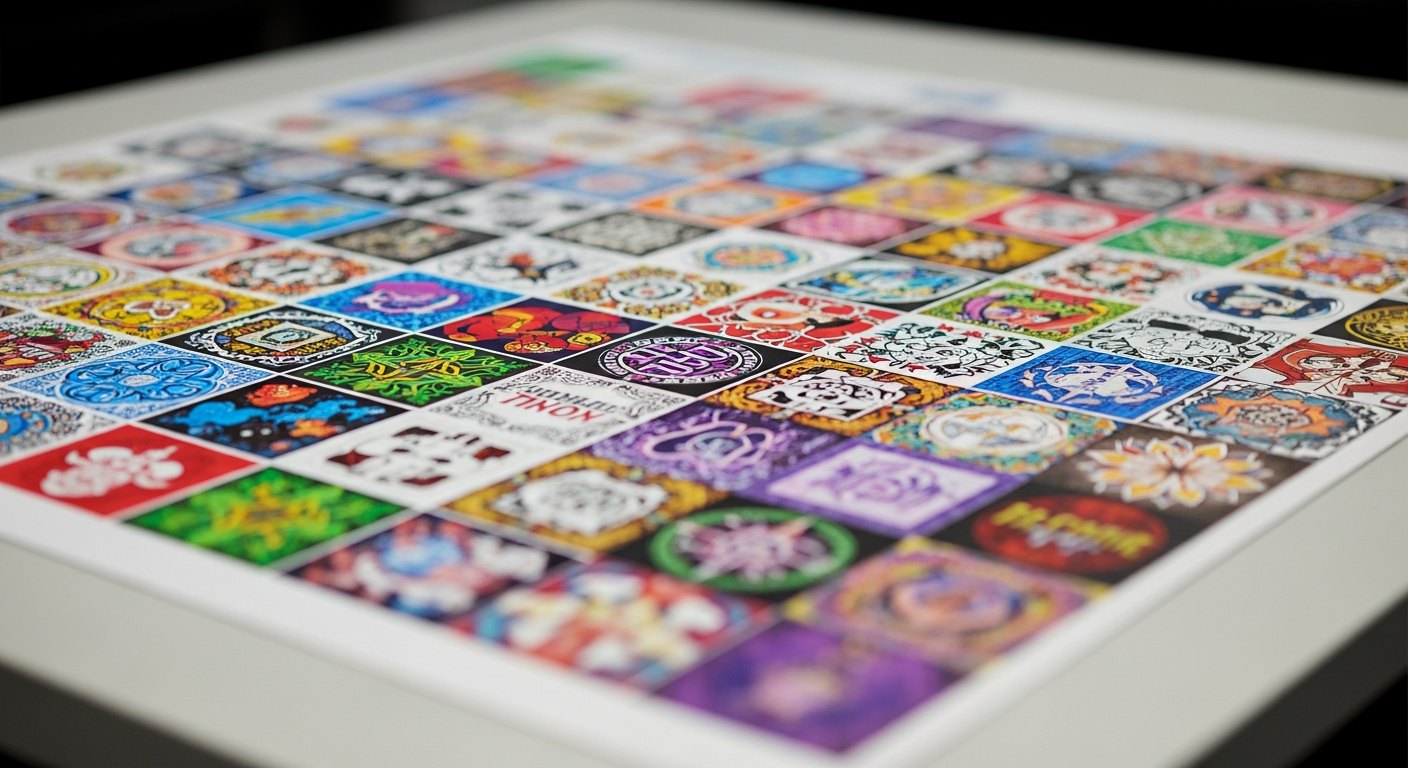
Hand-arranging PNGs to leave no gaps is slow and easy to get wrong. Auto-nesting does it for you: it rotates, rows, and tiles your designs into the smallest sheet that fits them all. This is the core of building a sheet that wastes no film.
Our builder at /builder nests live. As you add art and change quantities, it re-packs the 22-inch-wide sheet and updates the length and price in front of you. You can watch the exact moment where adding one more copy of a design barely moves the cost, which is the sign the sheet is packing efficiently. It also flags any file that is too low-resolution to print sharp before you pay, so you catch problems at build time instead of at the press.
Why width is fixed and length is not
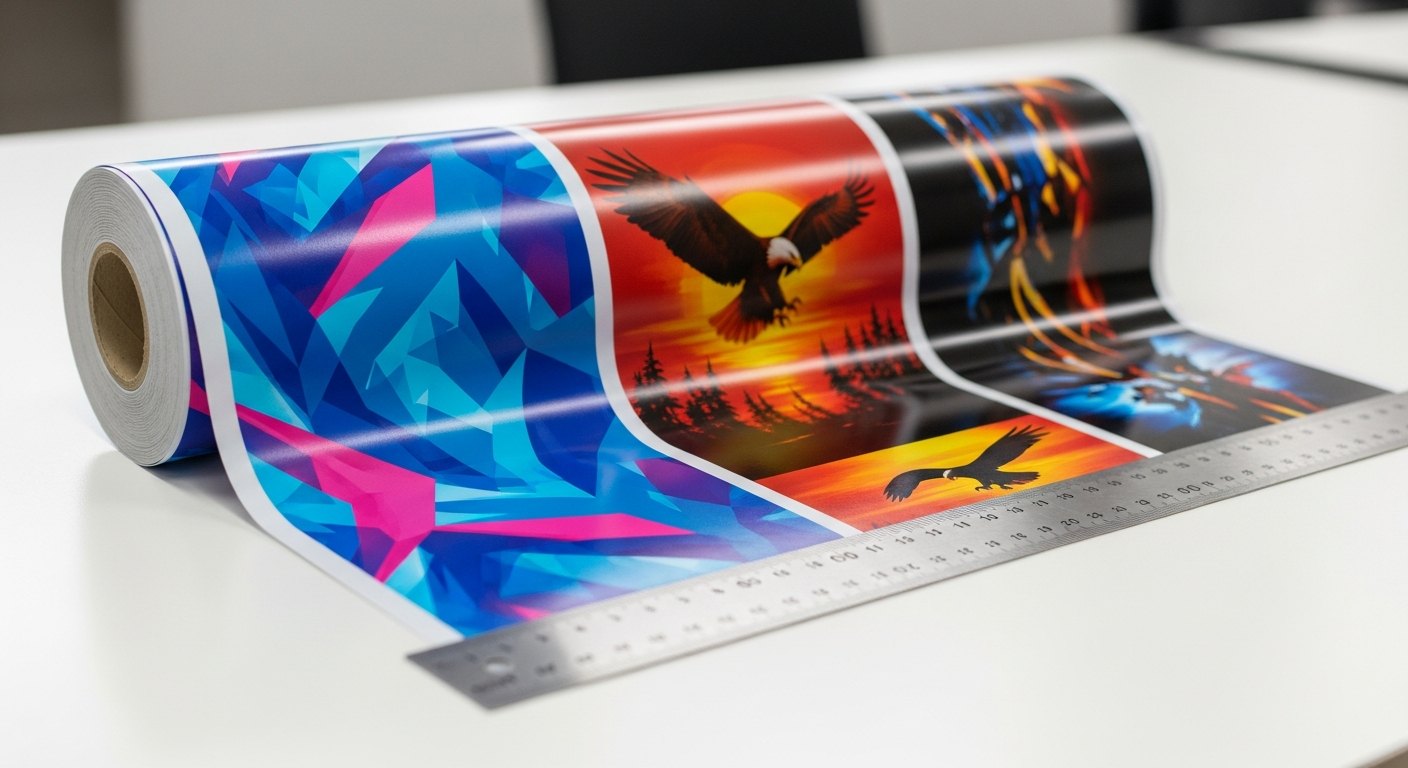
DTF film comes on a 22-inch-wide roll, so every gang sheet is 22 inches wide. What you control is the length. The builder adds length only as needed to hold your art, so a tightly nested sheet is a shorter, cheaper sheet. That is the lever you are pulling every time you fill a gap.
Leave room to cut and press
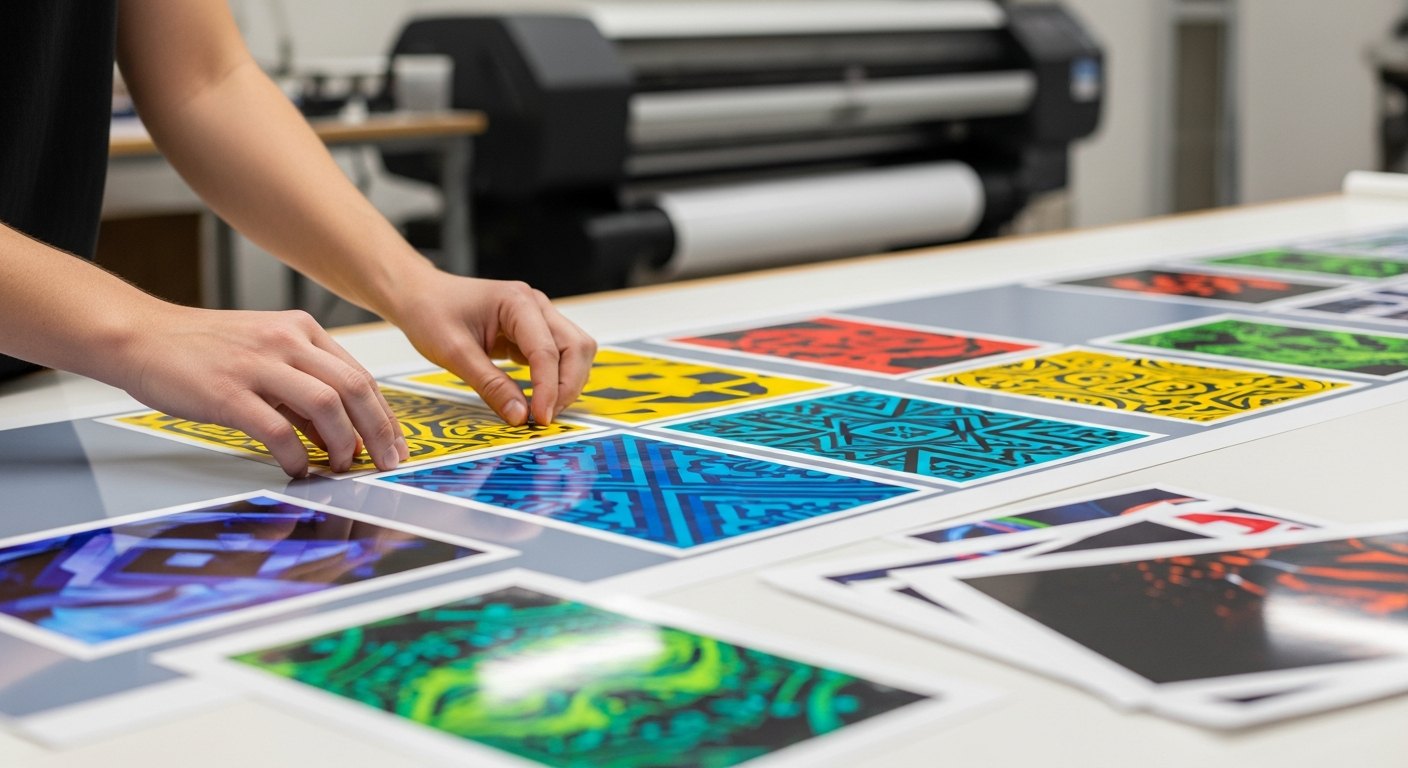
Packing tight does not mean touching edges. Leave a small margin, roughly a quarter inch, between designs so you have room to cut each one out cleanly at the press. Designs jammed edge to edge are hard to separate and risk clipping the art. A good builder builds that spacing in automatically, but it is worth a look before you order.
Common mistakes that waste film
Most wasted film traces back to a handful of avoidable habits. Knowing them upfront saves you money on every order, because the difference between a padded sheet and a tight one shows up directly in the length you pay for.
- Uploading art with a white background instead of a transparent PNG, which prints a visible box on the shirt and often forces you to reorder.
- Sizing designs too generously. An inch of extra width on ten copies adds up to a lot of film, so trim each design to the true size you will press.
- Ordering one big design and leaving the rest of the width empty. If a full back print only uses part of the 22 inches, drop small logos or name labels into the leftover space since you already paid for it.
- Rounding quantities up out of habit. A gang sheet has no per-design minimum, so order exactly what you need and add extras only where they fill a real gap.
The pattern behind all of these is the same: every empty square inch is film you bought and did not use. Building with that in mind, rather than treating layout as an afterthought, is what turns a decent sheet into a cheap one.
Reorder the same sheet in seconds
One quiet advantage of building your own gang sheet is repeatability. Once you have dialed in a sheet of shop logos, team names, or a recurring customer order, you can rebuild the exact same layout the next time you run low. There is no reworking the arrangement or re-sizing files, which makes gang sheets a natural fit for anyone printing the same designs on a schedule. If your DTF work is a steady stream of small runs rather than one giant order, saving your proven layouts is the difference between a five-minute reorder and starting from scratch.
- Upload every PNG you need, backgrounds already removed.
- Set each design to its true press size in inches.
- Enter the quantity for each design separately.
- Let the builder auto-nest and confirm nothing is flagged low-res.
- Check the final length and price, then order.
The bottom line
Building a gang sheet that wastes no film comes down to three habits: bring clean, full-size art, set honest quantities, and let auto-nesting do the packing. Do that and you turn DTF from a per-piece cost into a per-square-inch cost, which is where the real savings live. When you are ready to press what you built, our ready-to-press transfers at /transfers ship same day if you order by 2 PM CT.
Frequently asked questions
Auto-nesting, low-res warnings before you pay, shipped same-day from Texas.
Open the builder →