DTF Heat Press Settings by Fabric: Temp, Time & Pressure
The right DTF press settings change with the fabric. Here is how to adjust temp, time, and pressure for cotton, polyester, blends, and hard-to-press items.
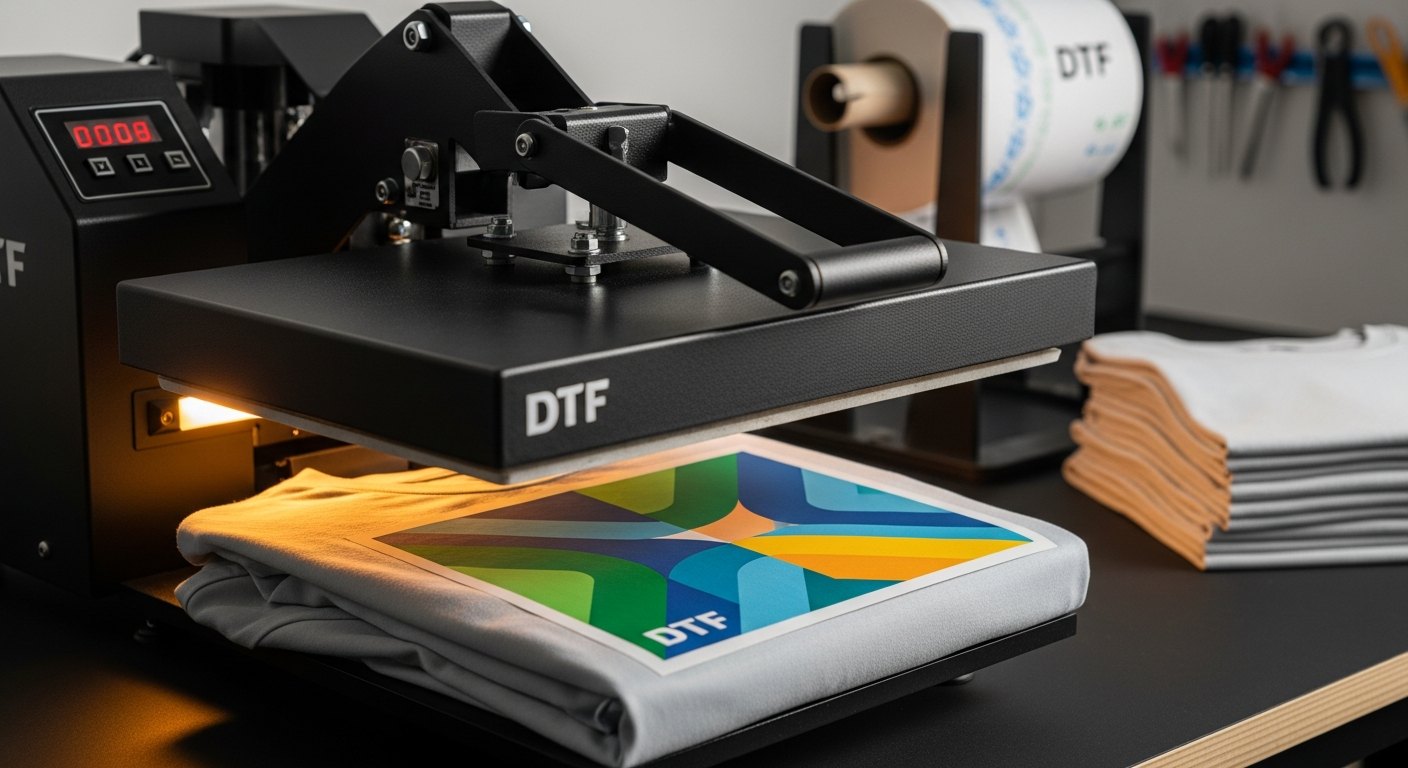
A DTF transfer only lasts if it bonds correctly, and bonding depends on three dials: temperature, time, and pressure. Get them right and the ink and adhesive fuse into the fibers for good. Get them wrong and the transfer scorches, glosses, or peels off in the wash. The catch is that the right numbers shift with the fabric, so a setting that is perfect on cotton can ruin a polyester jersey. Here is how to adjust.
The three dials, quickly
Before fabric-specific tweaks, understand what each dial does. Temperature melts the adhesive powder so it can grab the fibers. Time controls how long that heat has to soak in. Pressure presses the melted adhesive into the fabric so it bonds instead of sitting on top.
- Temperature: typically in the range of 300 to 320°F for most DTF films, but check your film's instructions for the exact number.
- Time: usually around 10 to 15 seconds for the main press, again per your film.
- Pressure: medium to firm for most garments, meaning the press closes with real resistance, not a light touch.
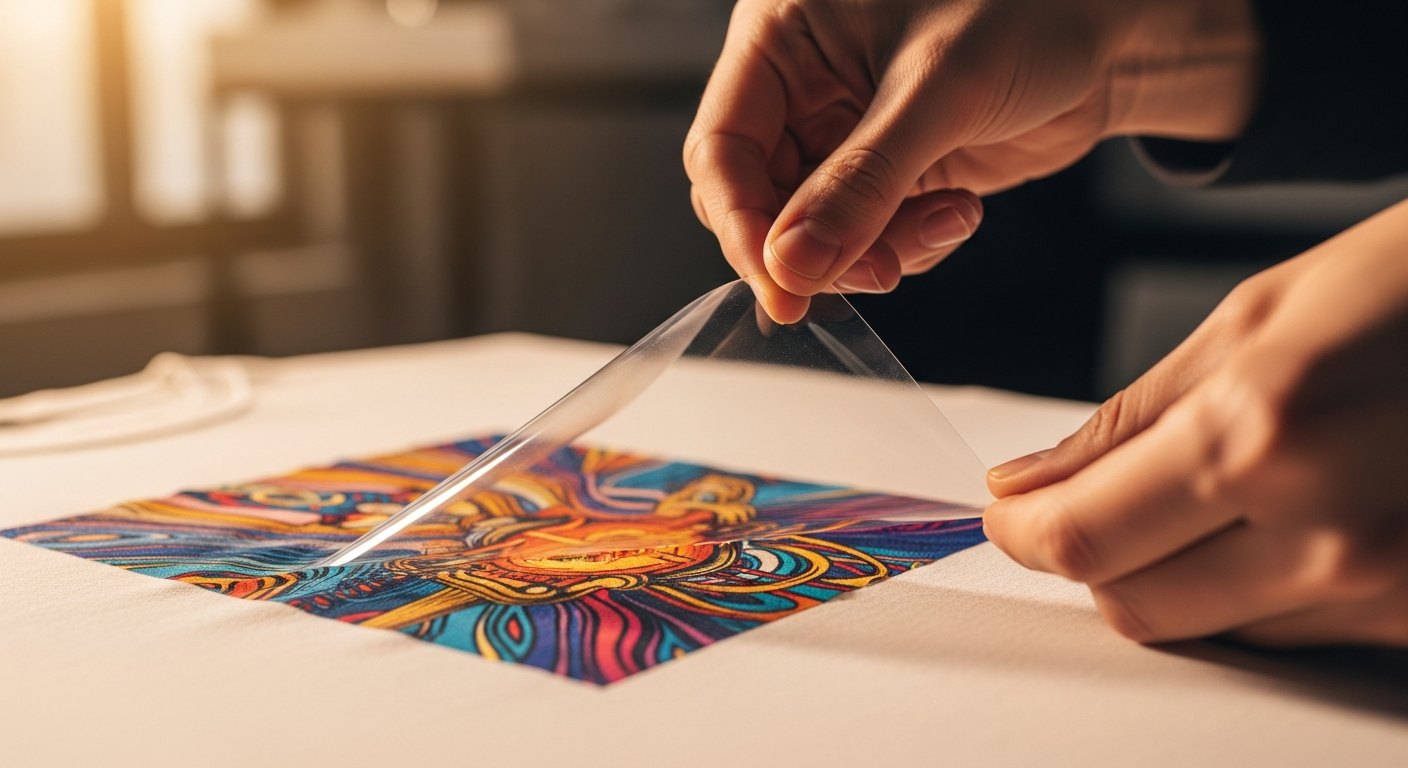
After the main press you either peel the carrier film hot or let it cool and peel cold, depending on the film. Cold peel films are cooled before you lift the carrier and tend to leave a matte, durable finish. Hot peel films are peeled right away. The film tells you which one you have, so do not guess.
Cotton and cotton-heavy garments
Cotton is the friendliest fabric for DTF. It tolerates heat well, so you can run at the upper end of your film's temperature range with medium-firm pressure and the full press time. A firm press pushes the adhesive deep into the cotton fibers, which is exactly what you want for a wash-durable bond. Cotton tees, hoodies, and canvas totes are where DTF is easiest to get right.
Polyester and performance fabrics
Polyester is heat-sensitive. Too hot and you scorch the fabric, glaze the surface, or trigger dye migration where the garment color bleeds up into your print. The fix is lower and shorter: run at the cooler end of your film's range and use a firm but not crushing pressure. If you see the garment surface going shiny, drop the temperature and add a little time to compensate.
Blends, tri-blends, and stretchy fabrics
Cotton-poly blends sit in the middle. Start toward the cooler, cotton-safe side and watch for any polyester behavior like glazing. Tri-blends and anything with spandex or rayon are more delicate, so favor lower temperature and firm, even pressure. Stretchy athletic wear benefits from a transfer that stays flexible, so avoid overpressing, which can stiffen the print.
Hats, bags, and hard-to-press items
Curved and thick items break the even-pressure rule that flat garments rely on. A structured hat has a seam and a curve, so a flat press cannot make full contact. Use a hat press or a small platen that matches the curve, and confirm the adhesive contacted the whole design before peeling. For thick items like bags, a firm press and a couple extra seconds help the heat reach through the material.
A repeatable press routine
- Pre-press the blank garment for a few seconds to flatten it and drive out moisture.
- Position the transfer, ink side down, where you want it.
- Press at your film's temperature, time, and pressure.
- Peel hot or cold exactly as the film specifies.
- Do a second press over the design, often with parchment or a cover sheet, to lock and smooth the finish if your film calls for it.
Reading the garment for problems
Your press does not have to be a guessing game. The garment tells you when a setting is off, if you know what to look for. Learning to read these signs lets you correct a batch before you ruin a stack of blanks.
- A shiny or glazed patch around the print usually means too much heat for that fabric. Lower the temperature, especially on polyester and blends.
- Color ghosting into a light print points to dye migration. Drop the temperature and consider a film rated for low-temperature application.
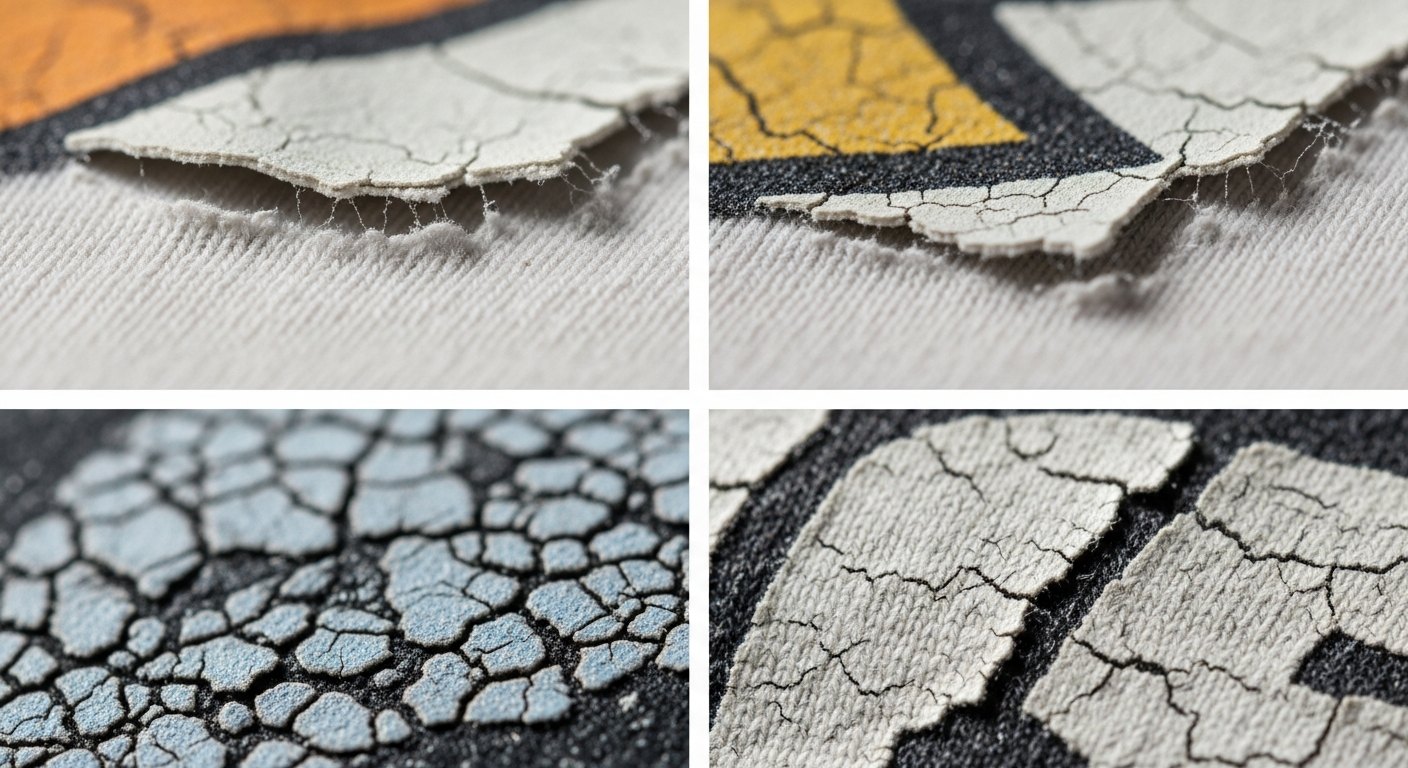
- Edges lifting or the print cracking after a wash often means the press was too cool, too short, or too light. Increase pressure and confirm you hit the full time and temperature.
- A print that feels like it sits on top of the fabric rather than in it usually needs more pressure so the adhesive drives into the fibers.
Why testing one piece first pays off
Fabrics vary even within the same category. Two polyester jerseys from different suppliers can behave differently under the same heat, and a heavy cotton canvas is not the same as a soft ringspun tee. That is why a single test press is worth the time. Run one garment at your best-guess setting, let it cool, and check the bond by stretching the print gently and rubbing an edge. If it holds and looks clean, run the batch. If not, adjust one dial at a time so you know which change fixed it. Testing one piece is far cheaper than reprinting a whole order.
Keep a simple log of what worked. Once you find the setting that bonds cleanly on a given blank, write down the temperature, time, and peel type next to the garment style. Over a few jobs you build a reference that turns future runs into a lookup instead of a fresh round of trial and error, which is especially useful when you press the same shirts week after week.
The bottom line
There is no single magic number for DTF. Cotton takes heat, polyester needs less of it, blends land in between, and curved items need matching pressure. Start from your film's instructions every time, adjust for the fabric in front of you, and test one piece before you run a batch. Our ready-to-press transfers at /transfers ship with clear application guidance so you are not guessing at the press.
Frequently asked questions
Auto-nesting, low-res warnings before you pay, shipped same-day from Texas.
Open the builder →