How to Apply DTF Transfers: A Step-by-Step Guide
Applying DTF transfers is simple once you know the order: pre-press, position, press, peel, and finish. Here is the full step-by-step.
Applying a DTF transfer is one of the most beginner-friendly ways to decorate a shirt. There is no weeding, no screens, and no drying rack. You press a printed film onto the fabric, peel the carrier, and the design is there. But the steps have an order, and skipping one is what separates a print that survives 50 washes from one that cracks after a few. Here is the full process.
What is actually happening
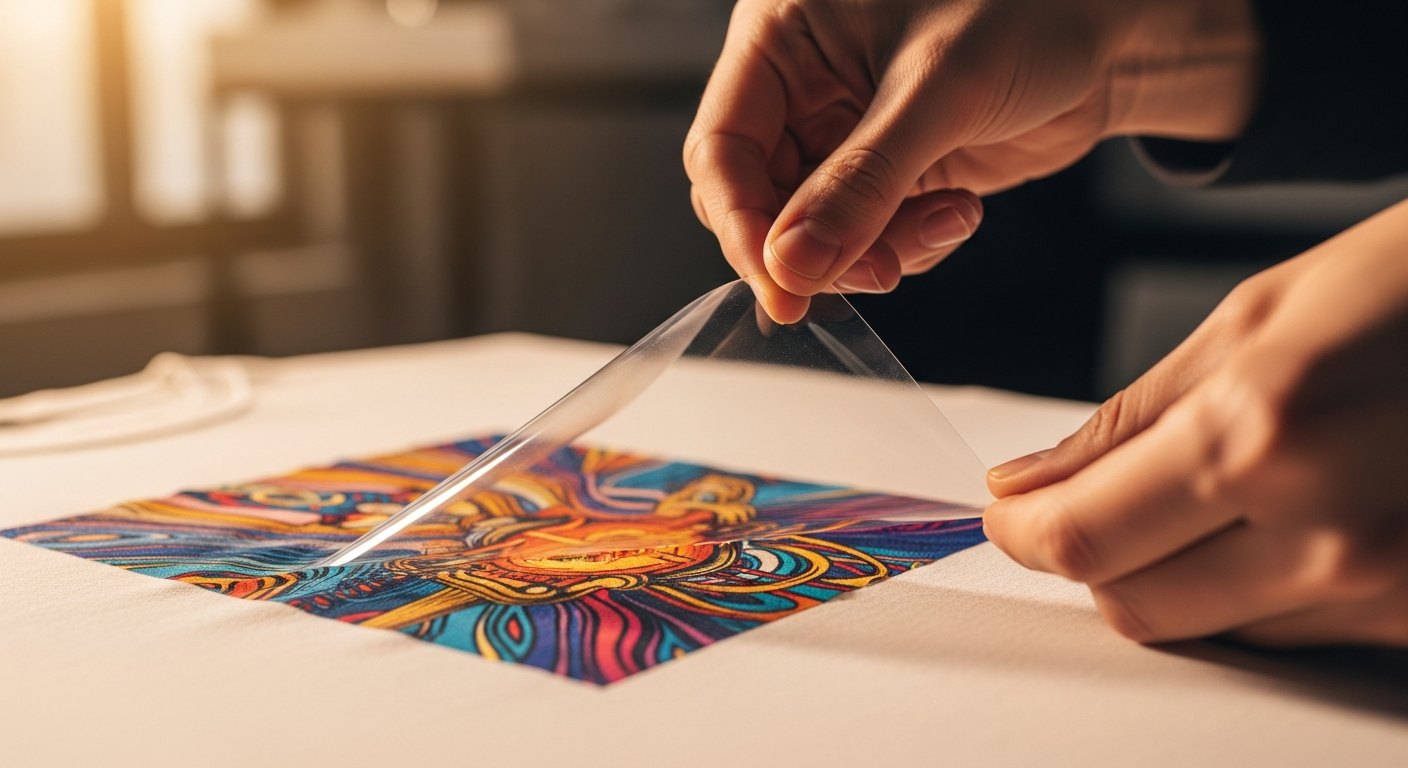
A DTF transfer is ink plus a layer of adhesive powder printed onto a clear carrier film. When you apply heat and pressure, the adhesive melts and grabs the fibers of the garment. When you peel the carrier, the film lifts away and the ink and adhesive stay behind on the fabric. That is the whole trick: the carrier is a delivery sheet, and the finished print is the ink and adhesive now fused into the shirt.
What you need
- A heat press that reaches and holds a steady temperature.
- Your DTF transfer and the instruction sheet that came with it.
- The blank garment, clean and dry.
- A cover sheet such as parchment or a Teflon sheet for the finishing press.
- A flat, heat-safe work surface.
The step-by-step
- Pre-press the blank garment for a few seconds. This flattens the fabric and drives out moisture, which helps the adhesive bond evenly.
- Position the transfer with the printed side down, ink against the fabric, where you want the design to land.
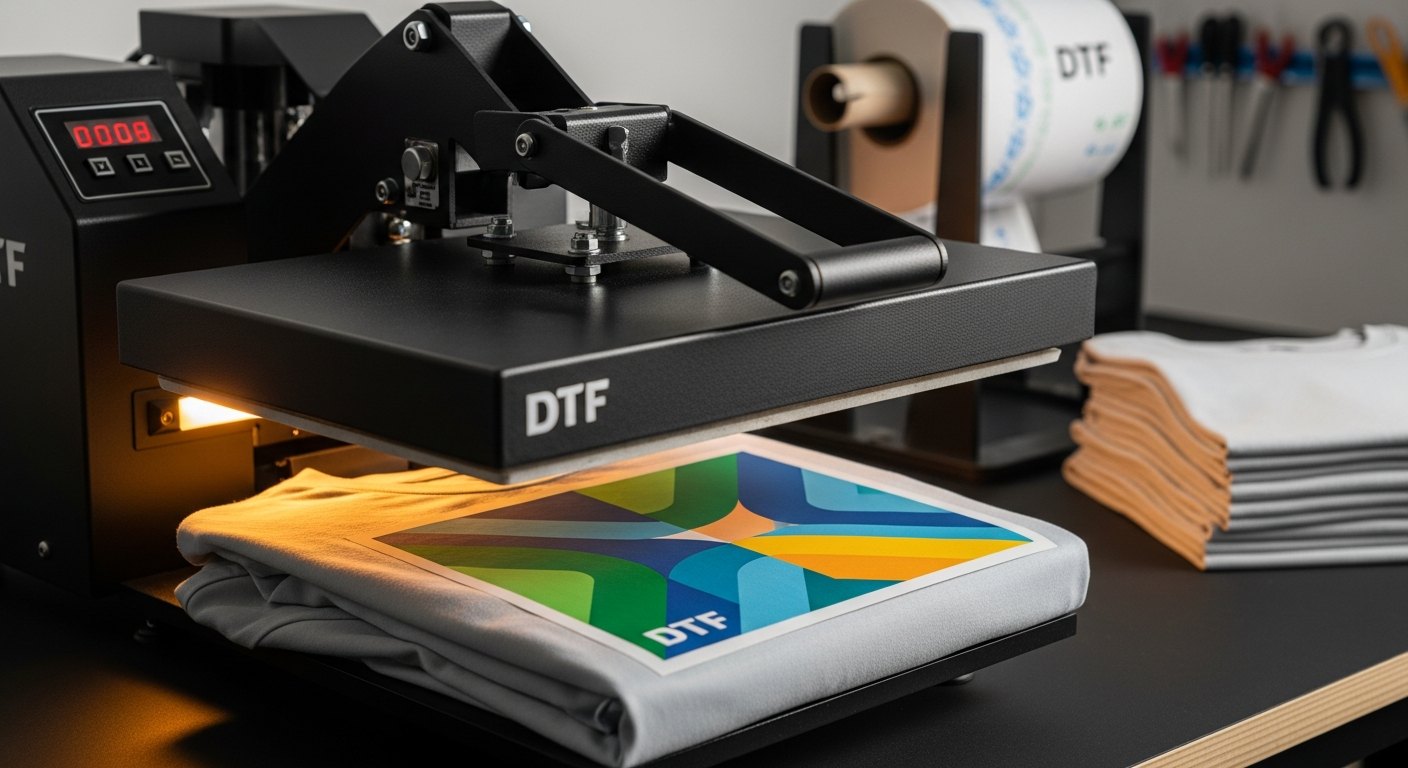
- Press at your film's temperature, time, and pressure. Most DTF films land somewhere around 300 to 320°F for roughly 10 to 15 seconds at medium-firm pressure, but always follow the instructions on your film.
- Peel the carrier film. Cold peel films need to cool first, then you lift the carrier; hot peel films are peeled right away. Your film specifies which, so do not guess.
- Finish with a second press over the design, usually with a cover sheet on top, if your film calls for it. This locks the print and can smooth the finish.
Cold peel vs hot peel
The single most common mistake is peeling at the wrong moment. Cold peel films must cool to room temperature before you lift the carrier, and they tend to leave a matte, durable finish. Hot peel films are peeled immediately while still warm. Peeling a cold-peel film hot can drag ink off the shirt and leave a patchy design, so let the film tell you when to lift.
Why the order of steps matters
It is tempting to treat these as loose suggestions, but the sequence is doing real work. The pre-press removes moisture so the adhesive can grab, positioning happens before heat so you are not adjusting a warm transfer, the main press does the bonding, and the peel and finishing press lock it. Skip the pre-press and moisture fights the bond. Peel before the film is ready and you pull ink off the shirt. Each step sets up the next one, which is why following the order beats improvising, especially when you are new to it. Once you have pressed a few pieces the rhythm becomes automatic, and a single shirt takes under a minute from blank to finished.
How to make it last
Application is only half of durability. The other half is care. A properly pressed DTF print holds up through many washes when handled right.
- Wait at least 24 hours after pressing before the first wash so the bond fully sets.
- Turn the garment inside out and wash cold on a gentle cycle.
- Skip bleach and harsh detergents, which break down the print.
- Tumble dry low or hang dry, and never iron directly on the design.
Mistakes that ruin a transfer
Most failed transfers come from a short list of errors, and every one of them is easy to avoid once you know it. If a print looks patchy, lifts at the edges, or cracks early, the cause is almost always here.
- Peeling at the wrong temperature. Peeling a cold-peel film while it is still hot drags ink off the shirt. Let the film cool if it is a cold peel.
- Not enough pressure. A light press leaves the adhesive sitting on the surface instead of bonded into the fibers, so it washes off fast.
- Skipping the pre-press. Moisture and wrinkles in the blank stop the adhesive from grabbing evenly.
- Using an iron instead of a heat press. An iron cannot hold even heat or flat, firm pressure across the whole design.
- Washing too soon. The bond needs time to fully set, so an early wash can lift a print that would otherwise have lasted.
Applying to different fabrics and items
The core steps stay the same across garments, but the heat settings shift with the material. Cotton tolerates the upper end of your film's temperature range, while polyester and performance fabrics need less heat to avoid scorching or dye migration. Curved items like hats need a platen that matches the shape so the whole design makes contact. Whatever you are pressing, the rule holds: start from your film's instructions, adjust for the fabric, and confirm full contact before you peel. If you are pressing something thick or structured, a few extra seconds helps the heat reach all the way through.
The bottom line
Applying DTF transfers comes down to five steps in order: pre-press, position, press, peel, and finish. Follow your film's temperature and peel instructions, use a real heat press with firm pressure, and treat the finished garment gently for the first day. Do that and the print becomes part of the shirt. Our ready-to-press transfers at /transfers arrive printed, powdered, and ready to press, and ship same day if you order by 2 PM CT.
Frequently asked questions
Auto-nesting, low-res warnings before you pay, shipped same-day from Texas.
Open the builder →